Even if you have all of the latest studio lighting equipment available, it's not going to guarantee you the exact results you want in a particular photo. It's important to know exactly how to set up and arrange that studio lighting equipment to give your subjects the proper look.
This is especially true when shooting portrait photos. Just a slight tweak to the positioning and intensity of the studio lights can make a significant difference in not only how the subject of the portrait looks, but also in the mood of the overall image. Use these tips to have more success in setting up studio lighting equipment for your portrait photos.
Avoid Straight-on, Harsh Lighting
When shooting a portrait photo, try to avoid harsh light that's directly in front of the subject. You'll end up with dark shadows behind the subject, the possibility of red eyes, and a “flat” look to the photo. The direct, harsh light removes all shadows from the face in a portrait photo, which leaves the photo with no depth. You also may end up forcing the subject of the portrait to squint or blink at the wrong time when staring into a harsh studio light, which will leave you with a poor photo.
Angle the Lights to Create Gentle Shadows
Gentle shadows in a portrait photo create a feeling of depth for the subject of the photo. To achieve a gentle shadow on the face, use studio lights on both sides of the subject's face, at about 45 degree angles. Be careful with this configuration, though, as you could create too many shadows on the face if the lights are too powerful. You may have to experiment a bit to find the right distance to place the lights from the subject, depending in part on the size of the studio you're using.
Eliminate a Flat Look by Moving One Light behind the Subject
Another option for the second light is to place it directly behind the subject. Having the second light highlight the wall behind the subject will create some additional depth in the photo, removing that flat look again. Continue to use the first light at a 45-degree angle, and you'll end up with gentle shadows.
Best Method for Using a Single Studio Light
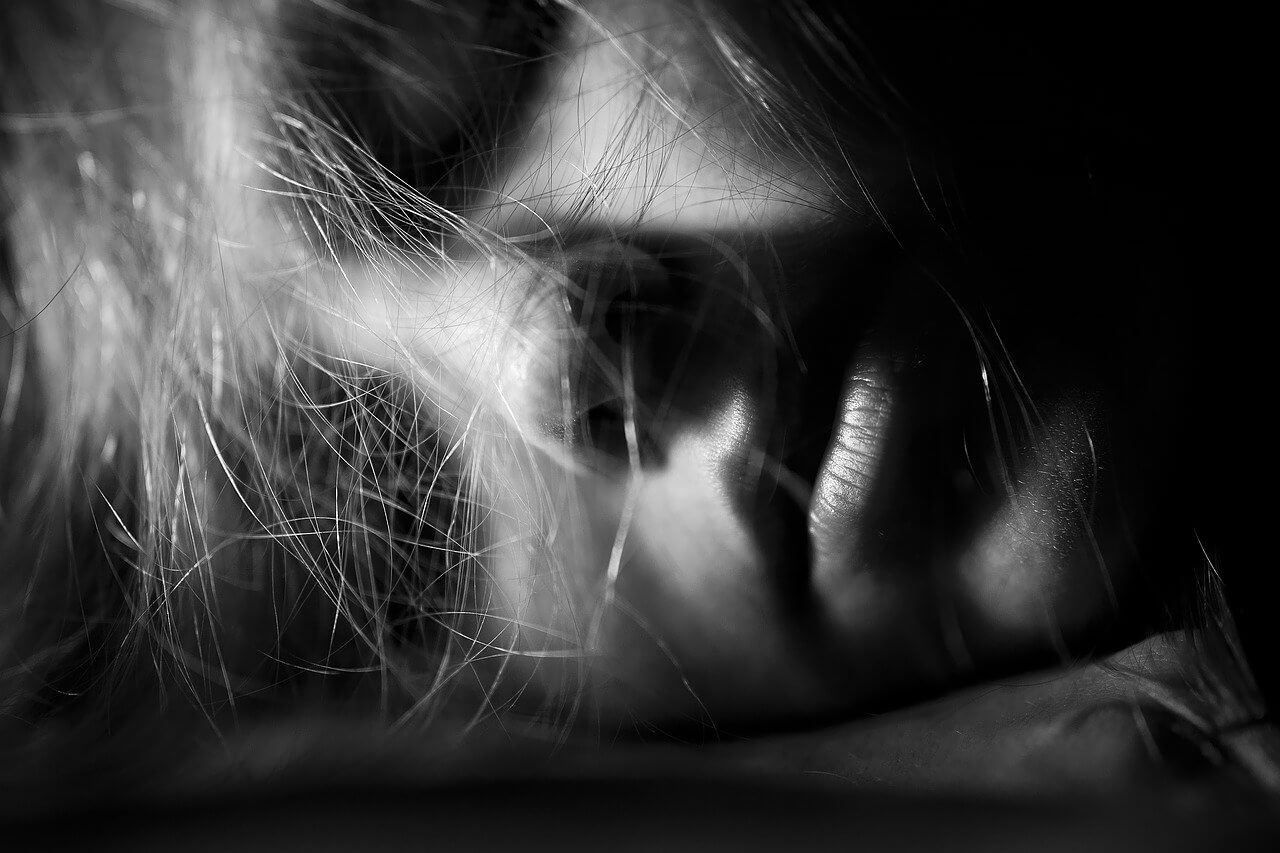
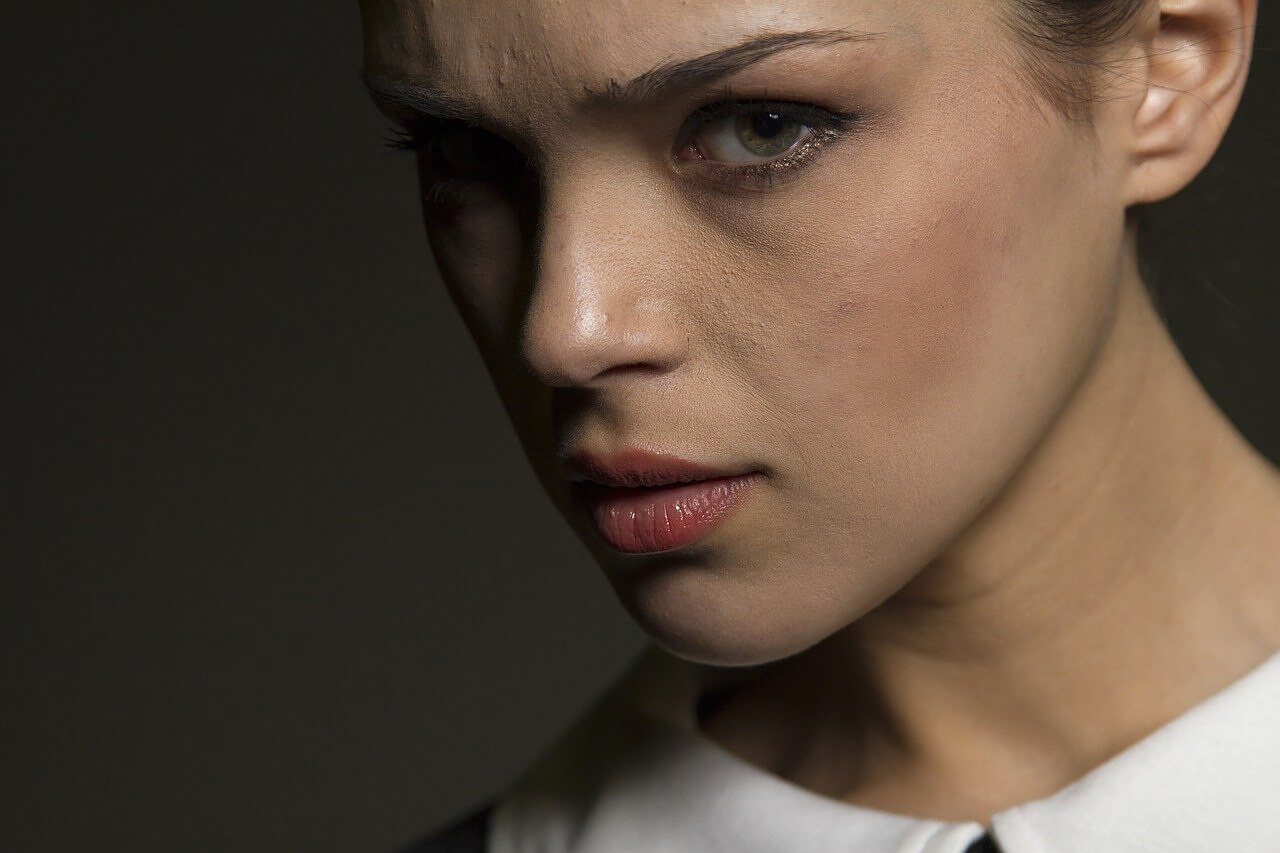
If you only have one studio light available, shooting a portrait photo with one studio light to the side of the subject, at a 45-degree angle or less, will create a harsh shadow on one half of the subject's face. This can create an interesting look in the photo, as usually only one eye will be visible, with the other eye masked in shadows. It can give the subject in the photo a mysterious look, creating a bit of a dark mood. However, such a look will only work for certain types of photos, so think carefully before deciding whether to go in this direction.
Reflector Panels Can Expand the Usefulness of a Single Light
If you only have one light available, consider using a reflector panel. Place it on the opposite side of the subject from the studio light, and you'll have some gentle light on that side of the subject's face, creating nice depth with gentle shadows.
Don't Forget Diffusers and Umbrellas
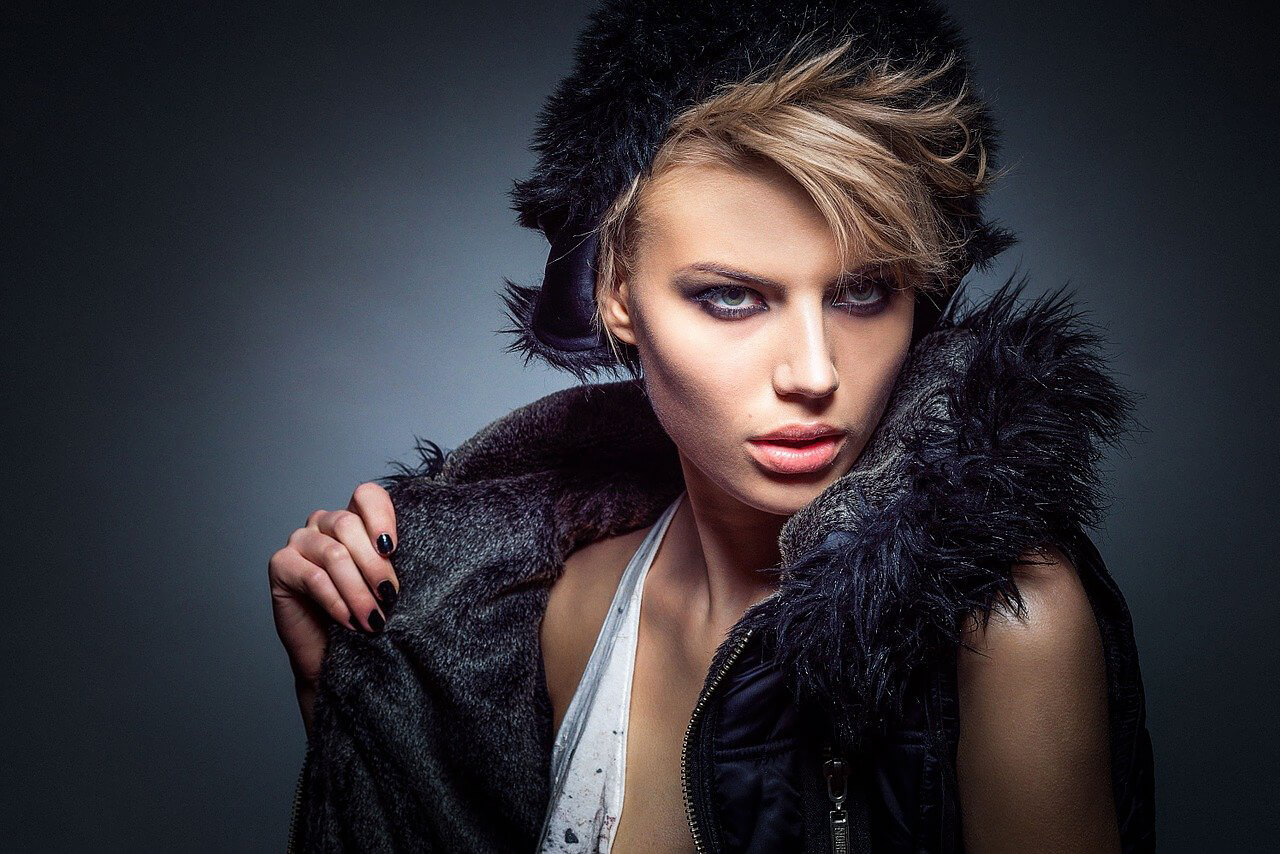
Make sure you incorporate some diffusers, light boxes, or umbrellas to soften the light for certain types of portrait photos, as shown in the photo above. These tools can greatly change the look of your studio lighting setup.
From: Website All About Photo


